Summary: in this tutorial, you will learn how to install MySQL server and its related products on Windows using the MySQL Installer.
After the tutorial, you will have a MySQL server and its tools up and running on your system for learning and practicing.
Note that for other operating systems like Linux and Ubuntu, refer to the following tutorials:
Download MySQL Installer
If you want to install MySQL on Windows, you can use the MySQL Installer. The MySQL Installer provides you with an easy-to-use wizard that helps you to install MySQL with the following main products:
- MySQL Server
- MySQL Workbench
- MySQL Shell
- MySQL Documentation
- All Available Connectors
To download the MySQL installer, go to the following link http://dev.mysql.com/downloads/installer/.
We’ll use the MySQL Installer 8.0.34 to install the MySQL Server and related products such as MySQL Workbench and MySQL Shell.
Install MySQL Server & related products using MySQL Installer
To install MySQL using the MySQL installer, double-click on the MySQL Installer file and follow the steps below:


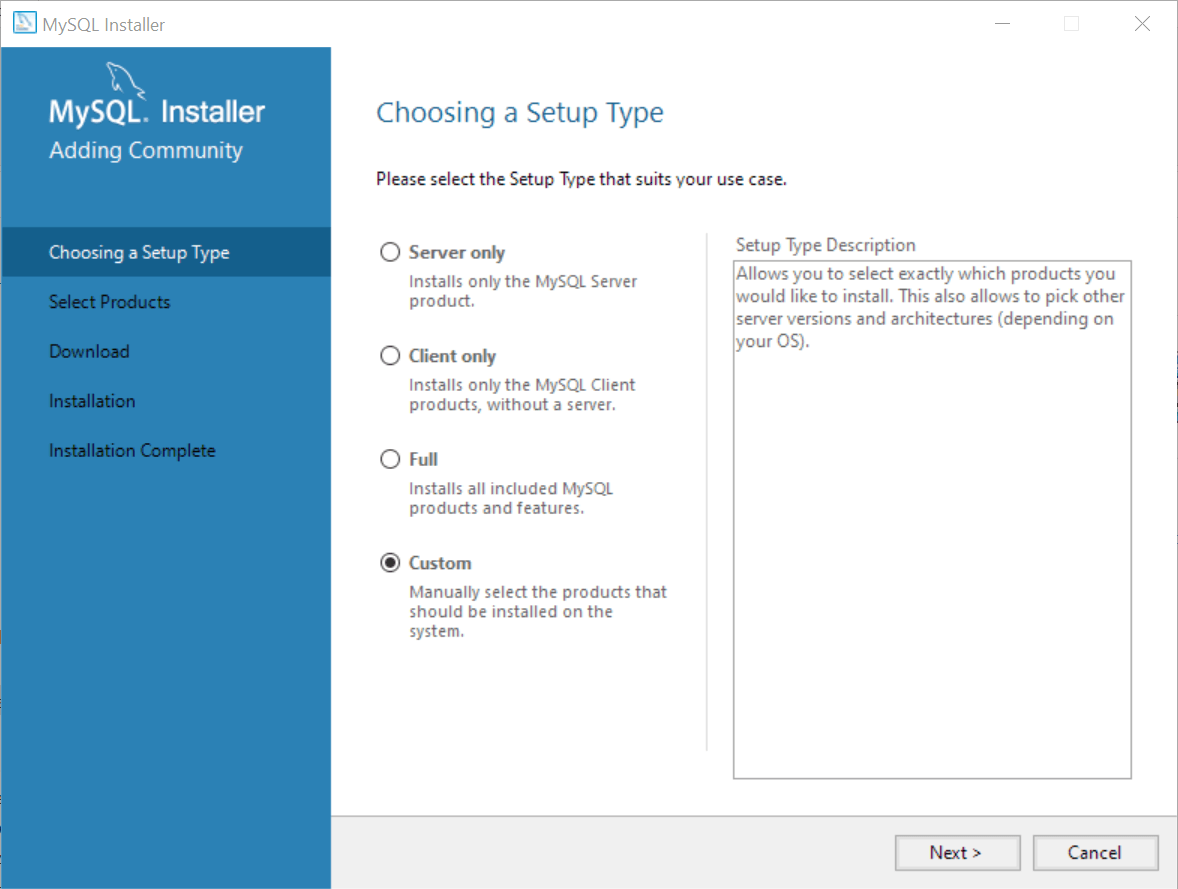
Step 1: Choosing a setup type
In this step, you need to choose the setup type that suits your use case. For tutorial purposes, you can select the last option which is Custom setup type:
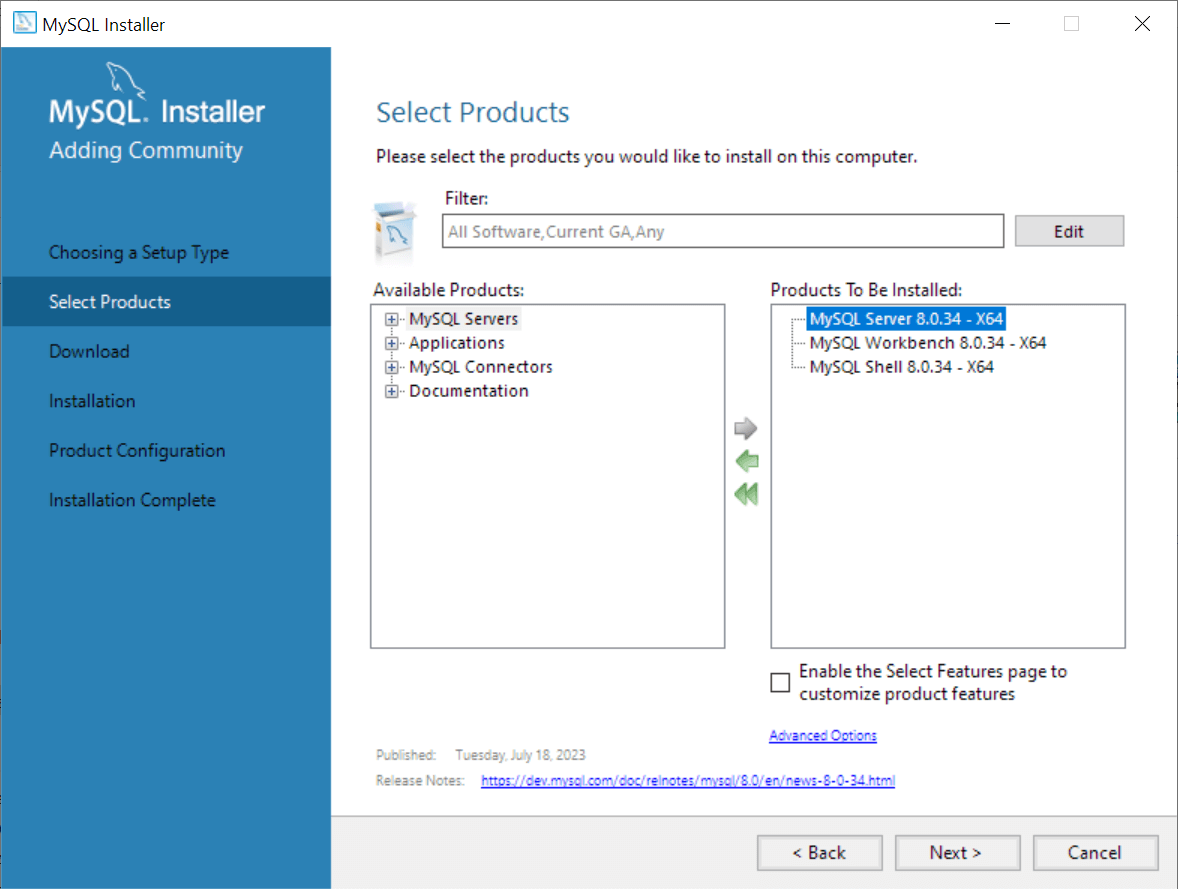
Step 2. Selecting products
Since we chose the Custom setup type, the MySQL Installer displays available products for us to select to install.
We’ll install the following products:
- MySQL Server – This is the MySQL Database Server.
- MySQL Workbench – This is the client tool for interacting with the MySQL Database Server via GUI.
- MySQL Shell – This is an interactive Javascript, Python, or SQL interface supporting development and administration for the MySQL Server.
To select these products, you click the + icon on the left pane, select the product, and click the right arrow button.
Here are the paths to the selected products:
- MySQL Servers > MySQL Server > MySQL Server 8.0 > MySQL Server 8.0.34 – x64
- Applications > MySQL Workbench > MySQL Workbench 8.0 > MySQL Workbench 8.0.34 – X64
- Applications > MySQL Shell > MySQL Shell 8.0 > MySQL Shell 8.0.34 – X64
Once you select the products, you click the Next button to continue.
Step 3. Downloading the selected products
The MySQL Installer will download the selected products from the internet. Please ensure you have an active internet connection and wait for a few minutes for the download to complete.
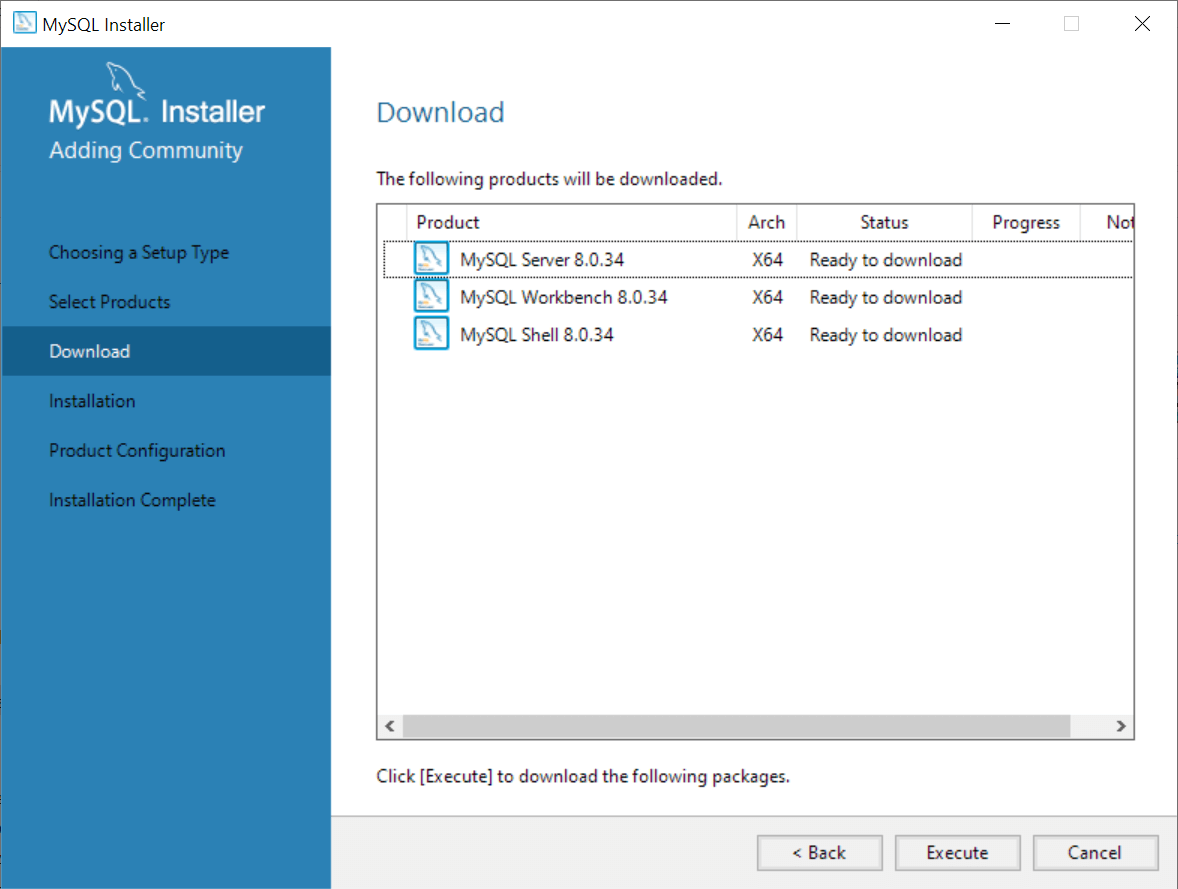
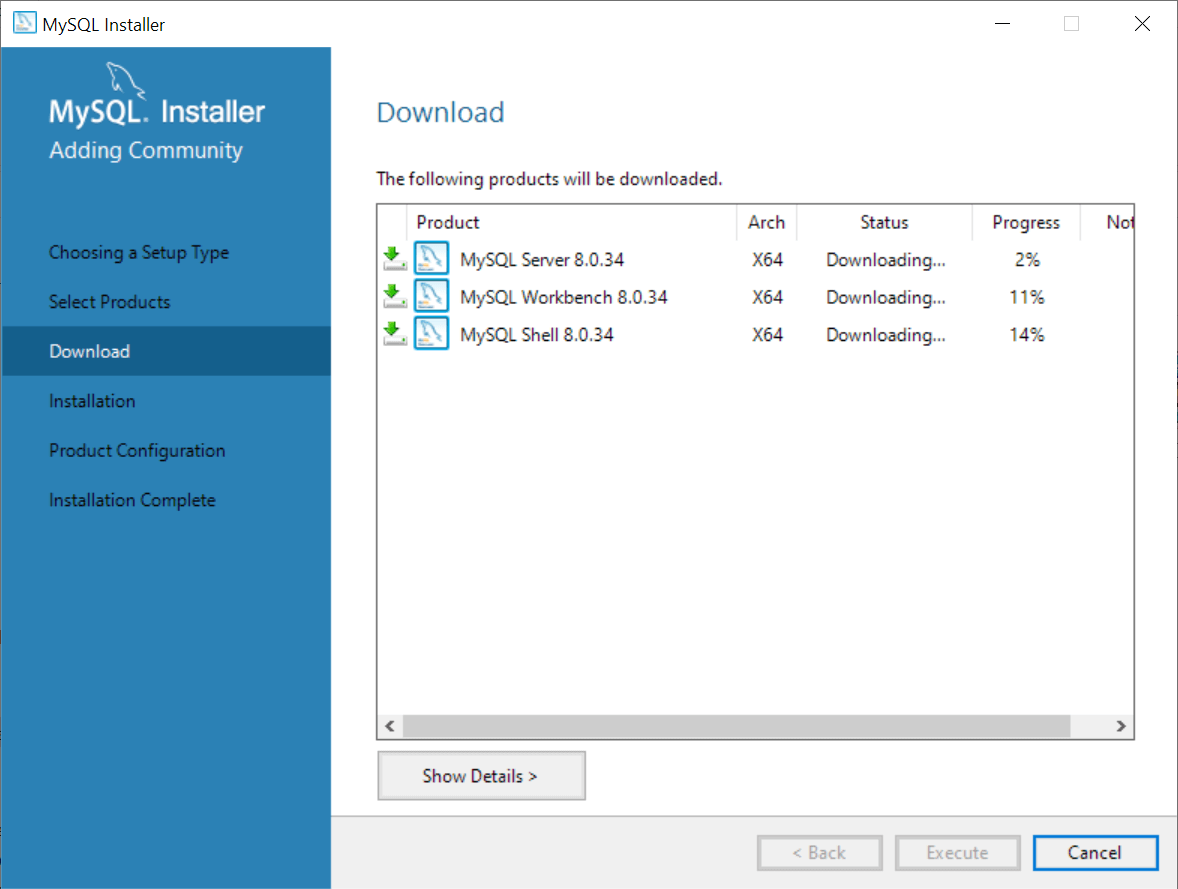
After the download is complete, click the Execute button to start the installation.

Step 4. Installing the selected products
The MySQL Installer will install the selected products and this process may some time.
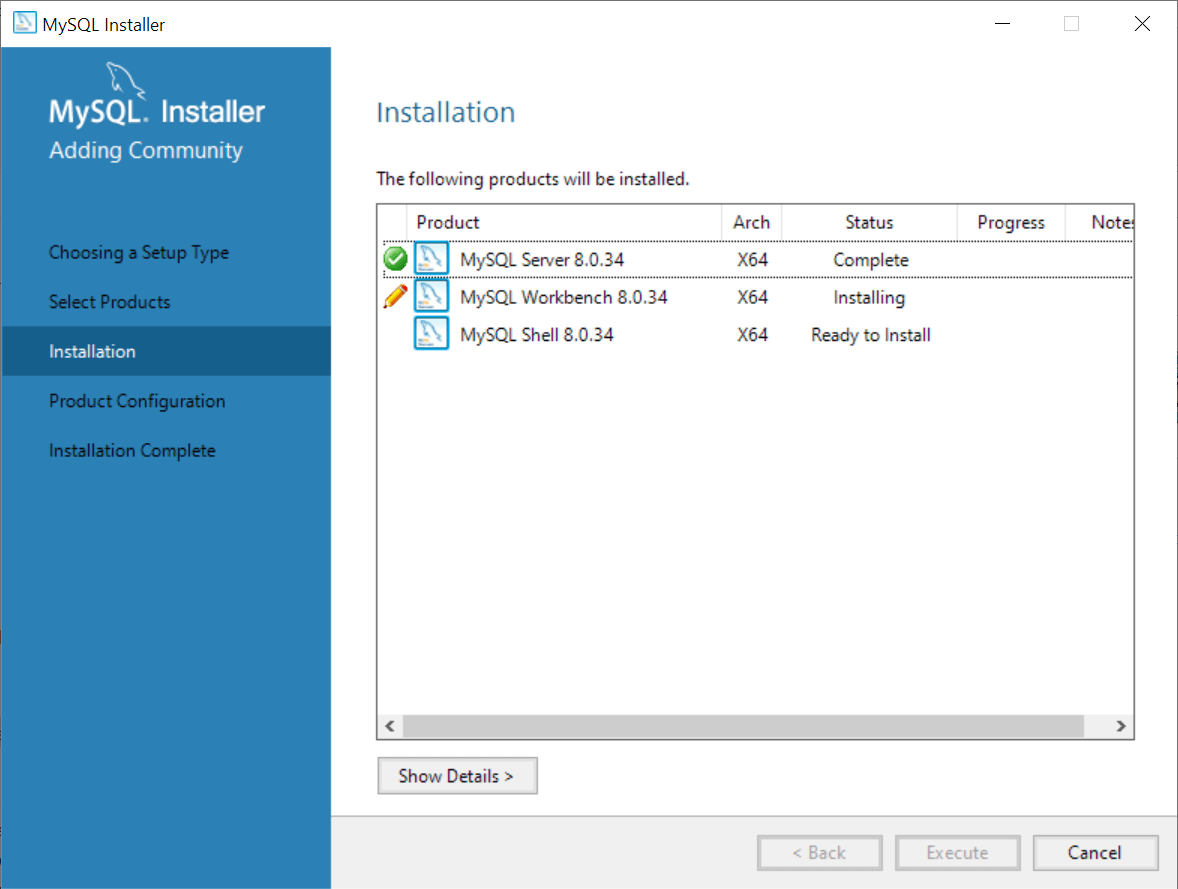
After the installation is complete, click the Next button to proceed to the Product Configuration.

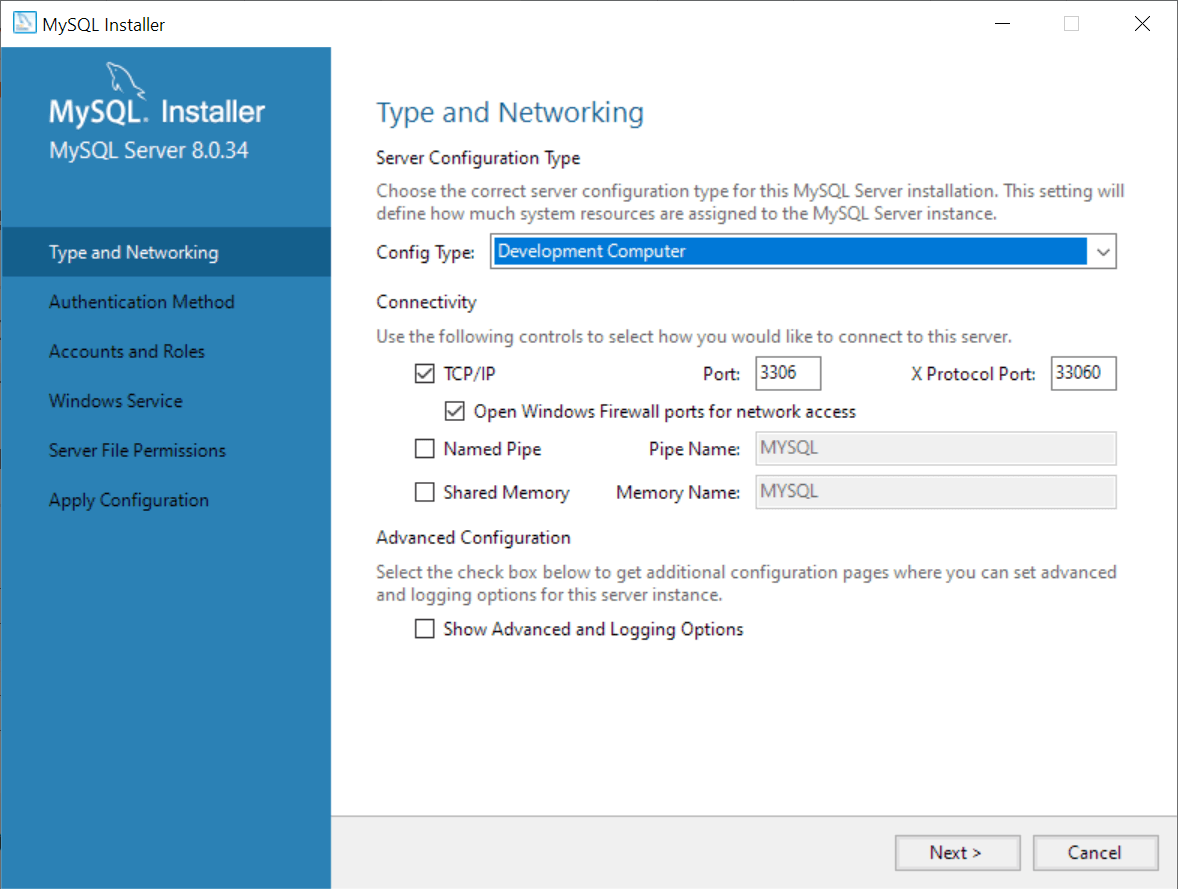
Step 5. Configuring the MySQL Server
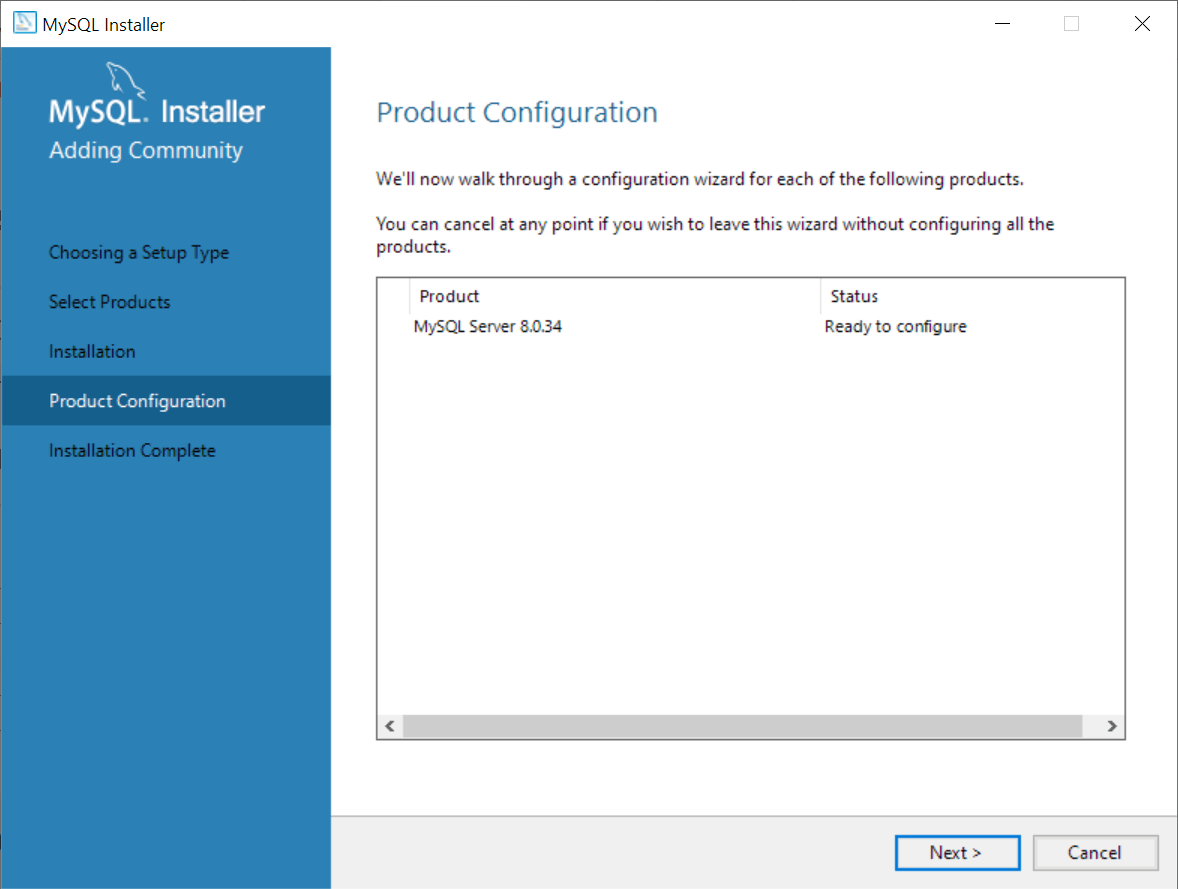
In this step, configure the MySQL Server. Choose the Development Computer for the server configuration type, leave the other options as they are, and click the Next button.
Step 6. Choosing an authentication method
It’s recommended to use strong password encryption for authentication, which is the first option.

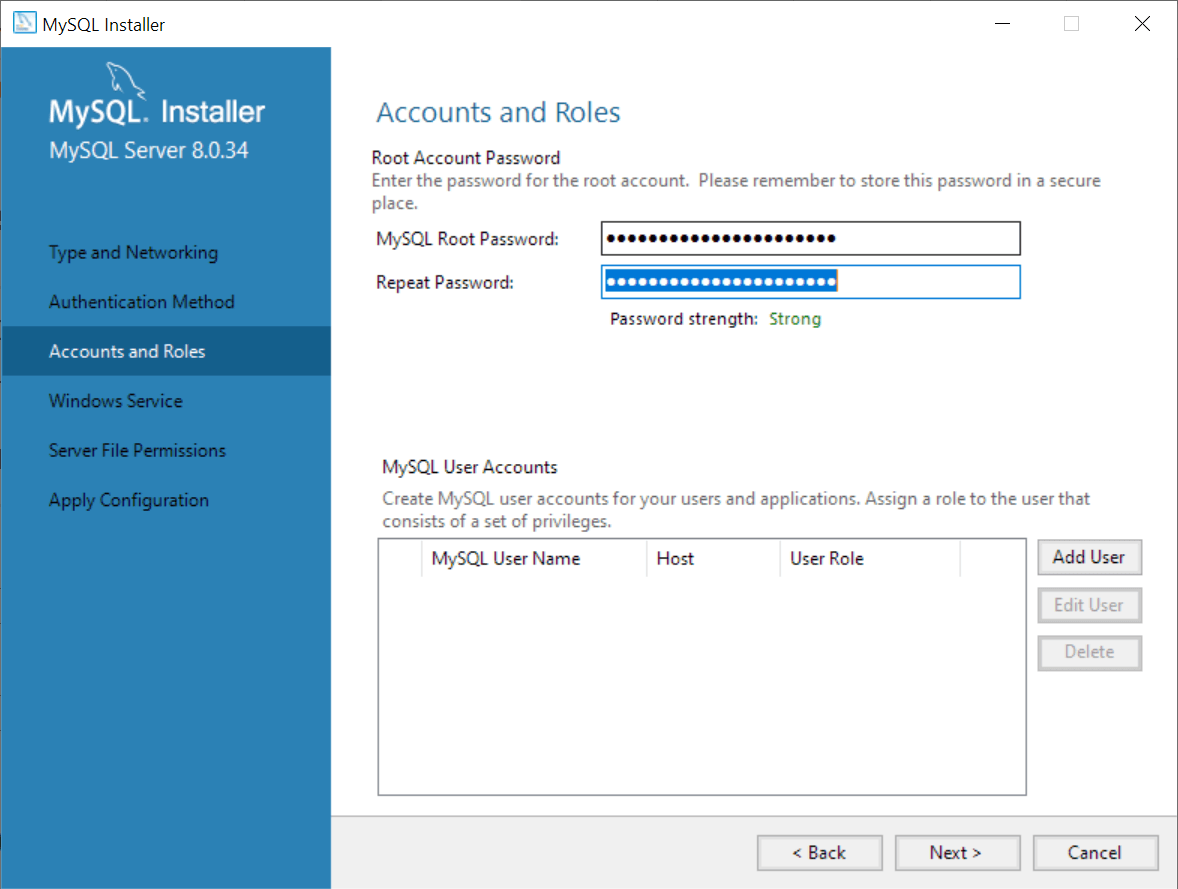
Step 7. Entering a password for the root account
Enter a secure password for the root account, which has full administrative privileges.
Be sure to store it safely and use it for connecting to the MySQL Server in the future.
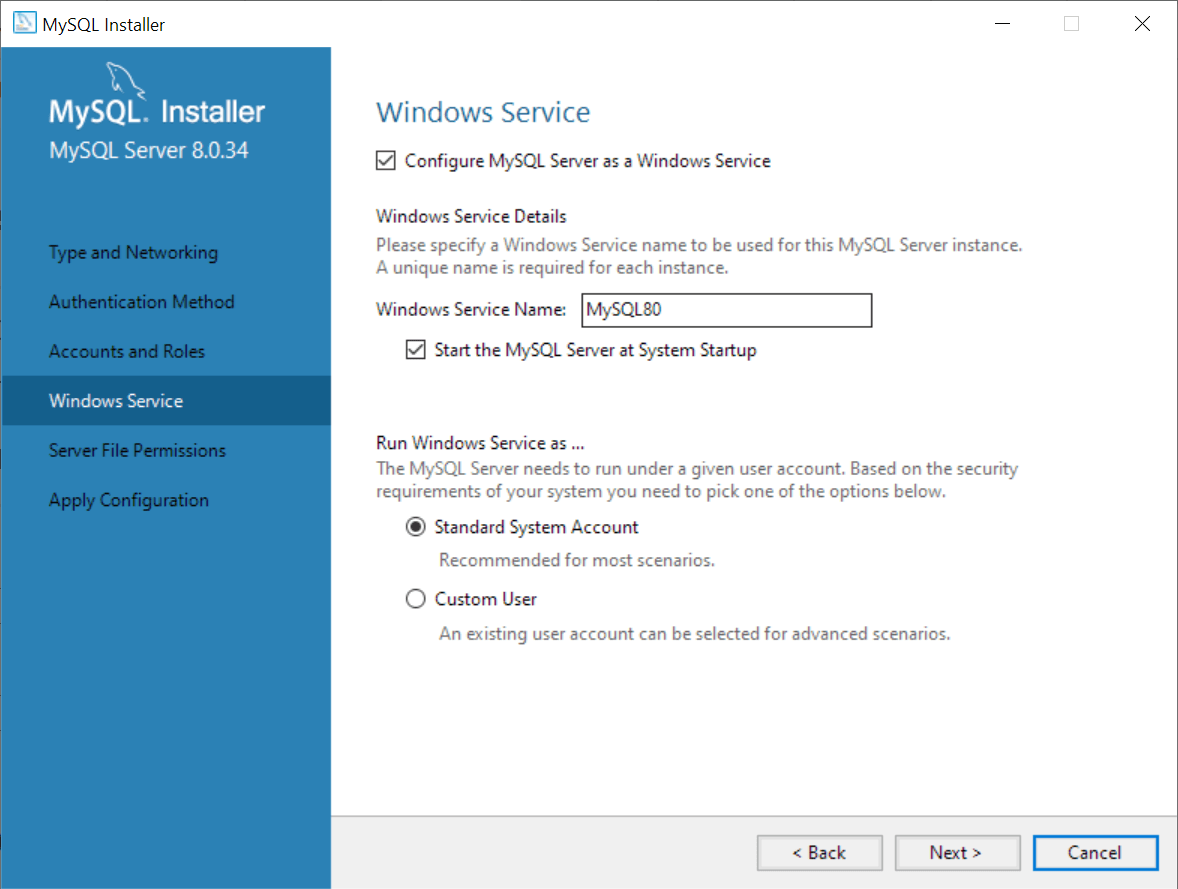
Step 8. Configuring MySQL Server as a Windows Service
In this step, you can configure the MySQL Server as a Windows service, specify a service name, and choose whether to start the MySQL Server during the operating system startup.
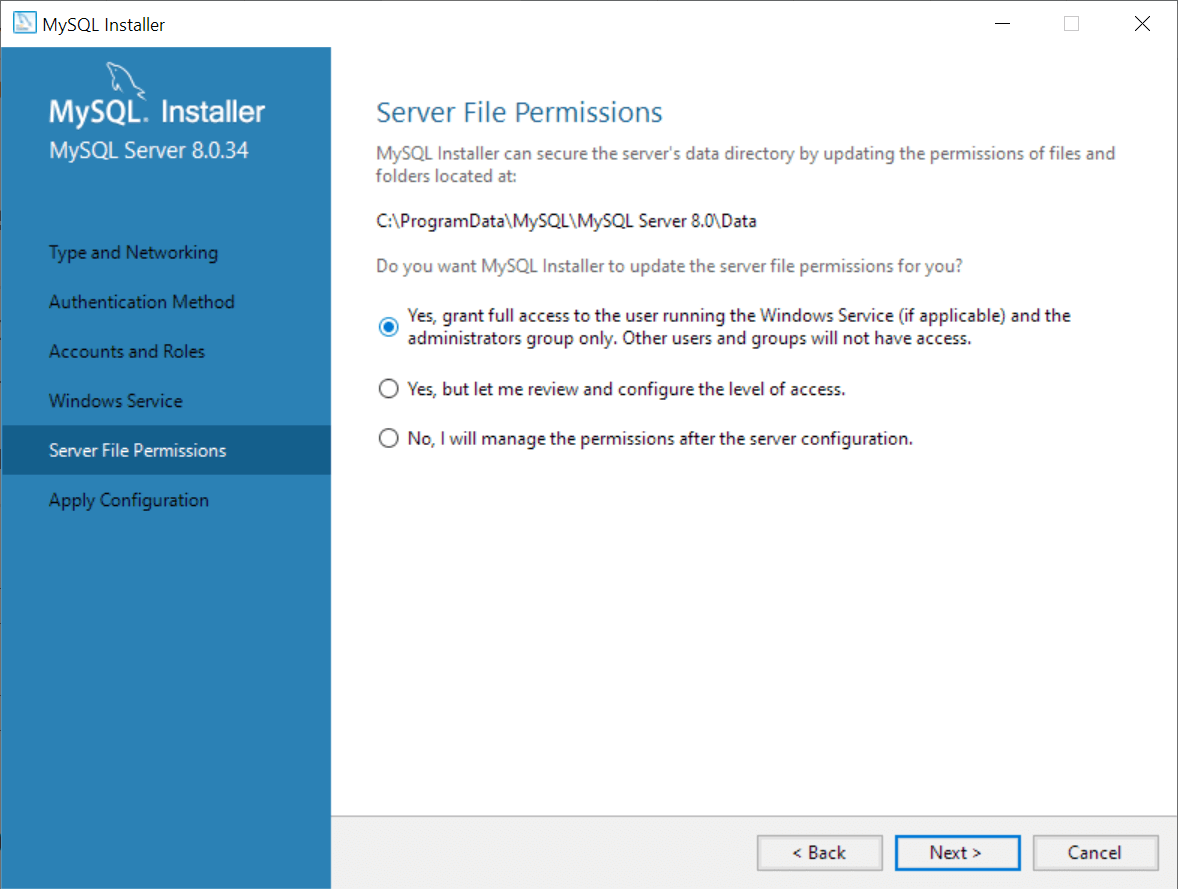
Step 9. Granting file permissions
In this step, you grant permission to MySQL to access the data directory.
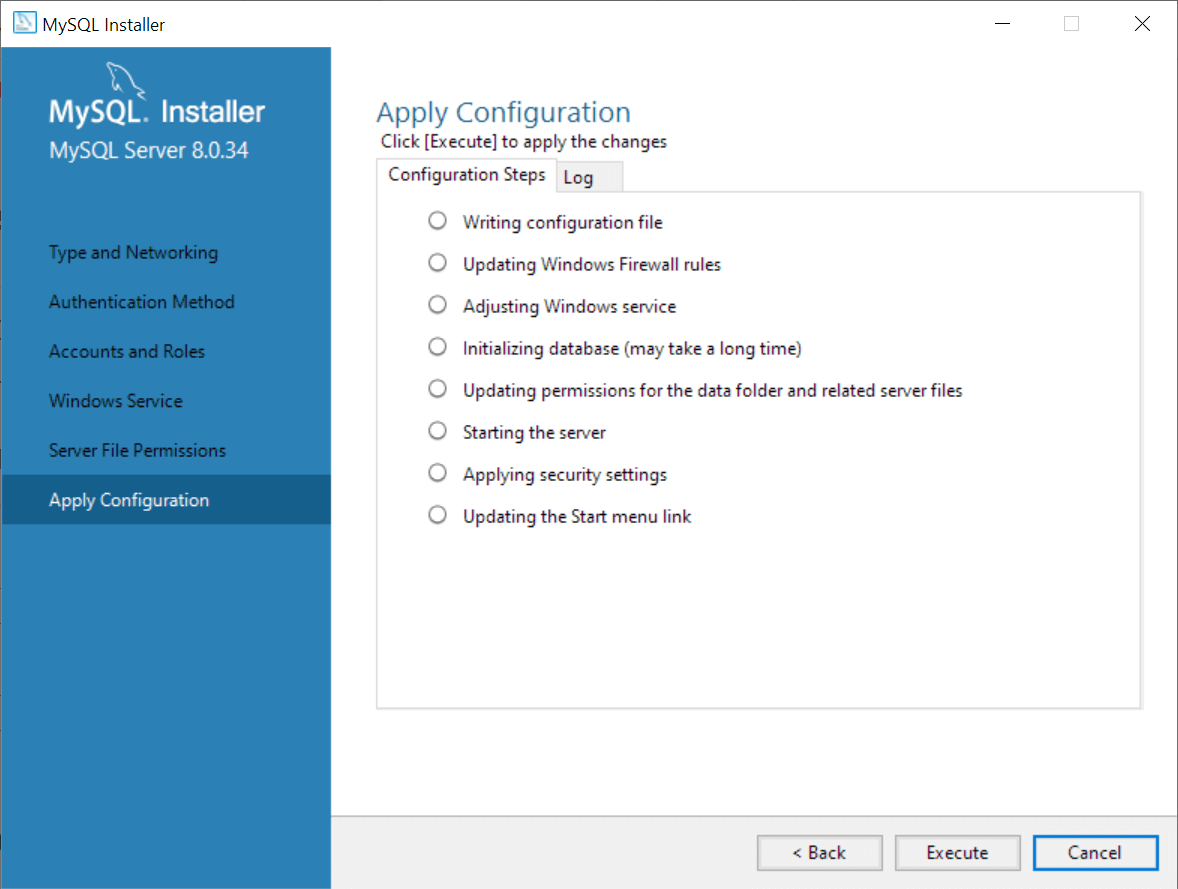
Step 10. Displaying the selected configuration
The MySQL Installer displays a window with the configuration steps. Click the Execute button to apply the configuration.
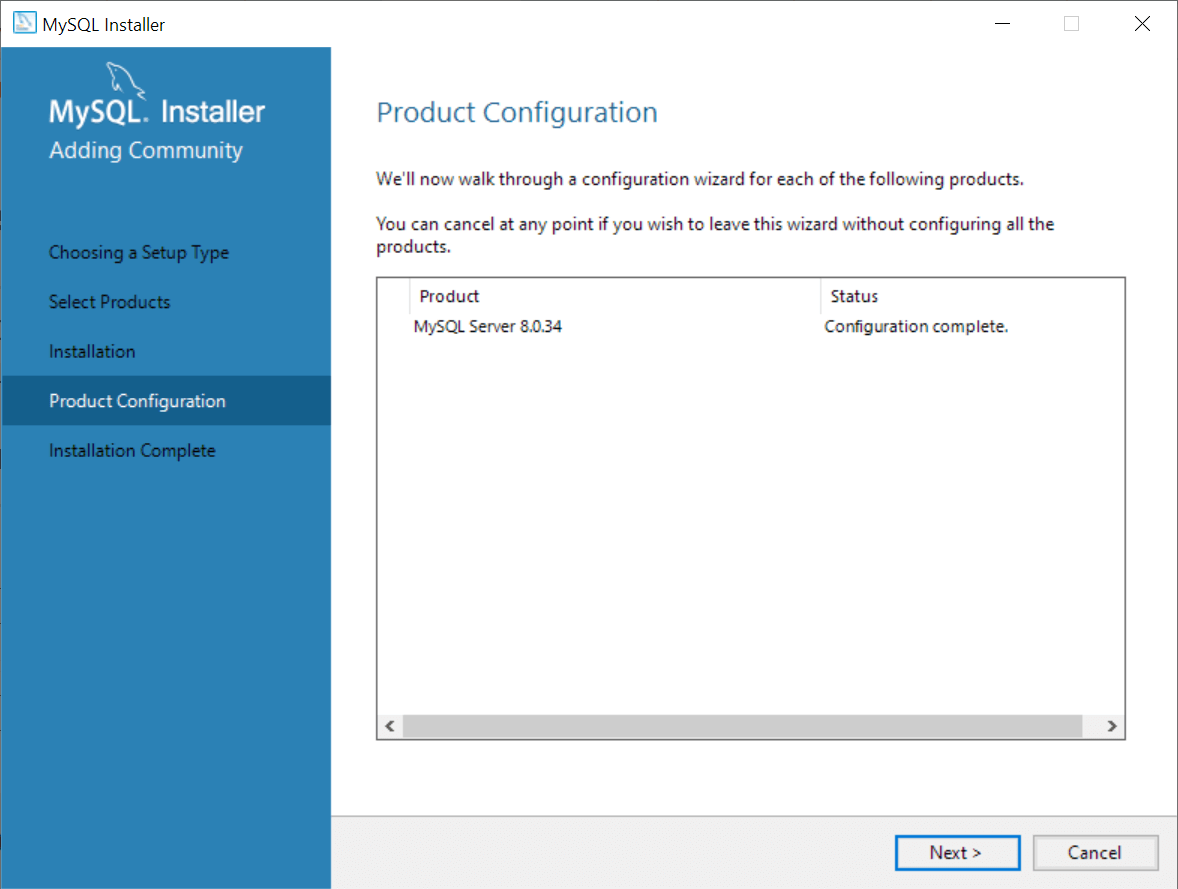
Step 11. Completing configuration
After applying the configuration, the MySQL Installer displays the following window to indicate whether the MySQL Server has been configured successfully.
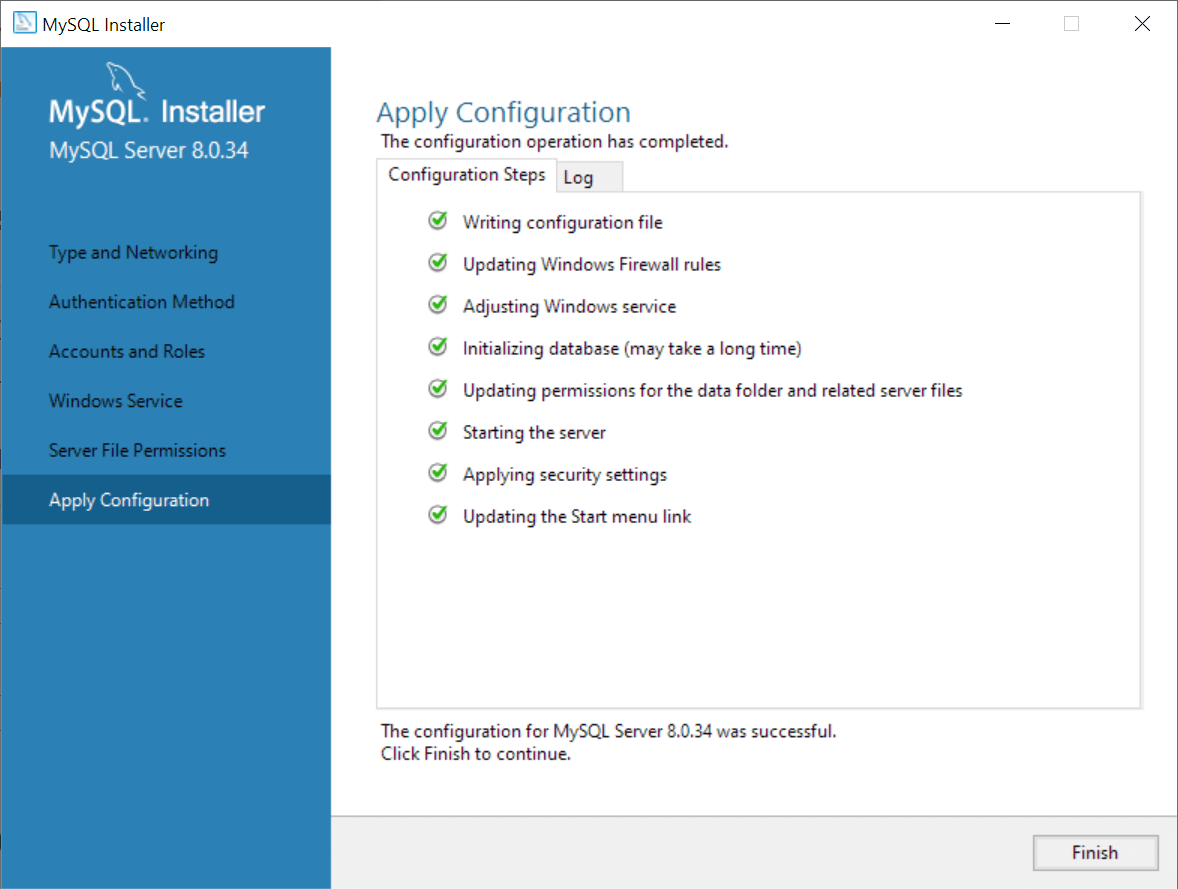
After completing the configuration, click the Next button to confirm and finish.
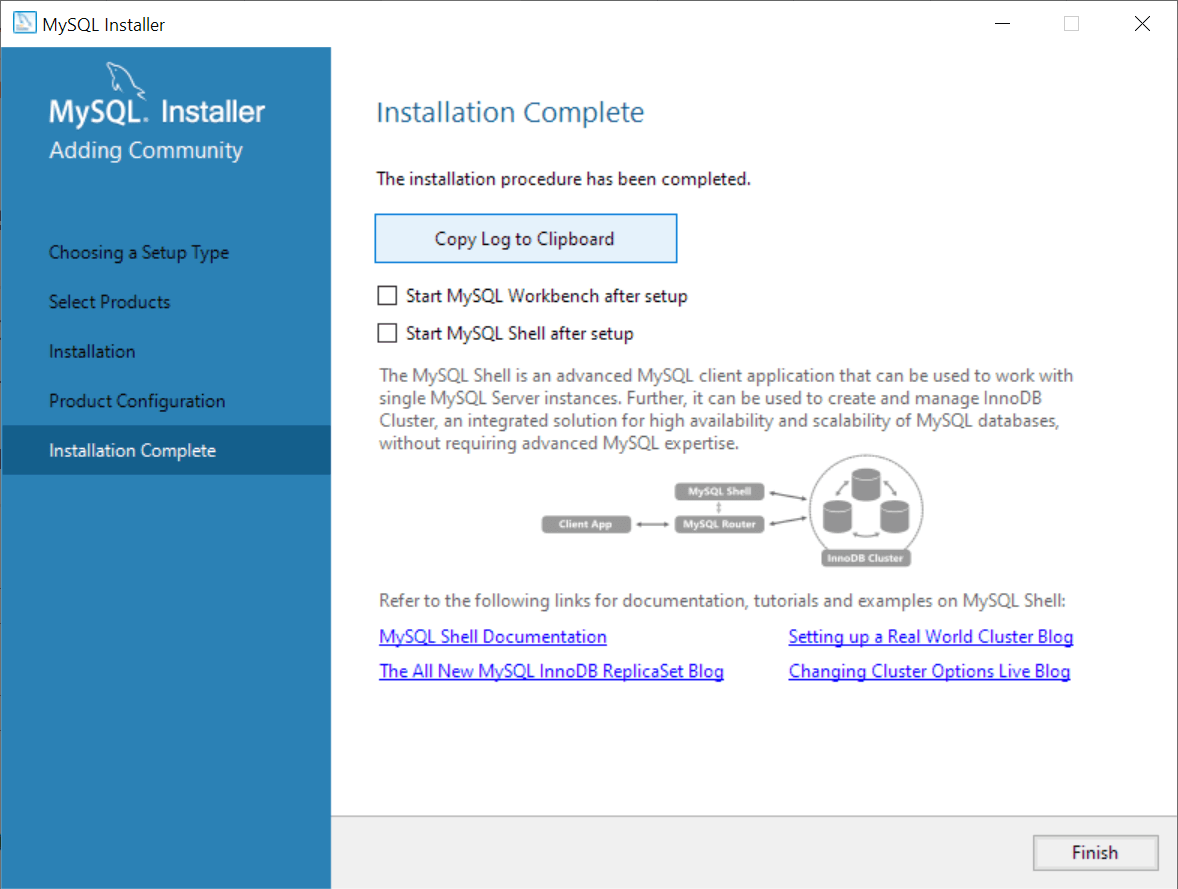
Step 12. Completing installation
The MySQL Installer displays a window to notify you that the installation is complete. Click the Finish button to close the installer.
In this tutorial, you have learned how to install MySQL on your Windows using the MySQL installer.